Reorganise PDF documents
Page management in PDF
With the help of webPDF, PDF documents can be reorganised. webPDF offers the possibility to rotate, sort and remove pages of the PDF document. In addition, the page order can be changed at will by simply moving pages in the document. Via the webPDF web portal, this can be done either quickly by drag & drop in the document or via the “Pages” tab by calling up the page management functions.
All the functions described can also be used via web service. Alternatively, a visual option for using the functions is available in the web portal.
Easily customise your PDF documents according to your wishes. You can select individual pages as you wish, but you can also reorganise and reposition several pages.
Here is an overview of the page management functions that can be used:
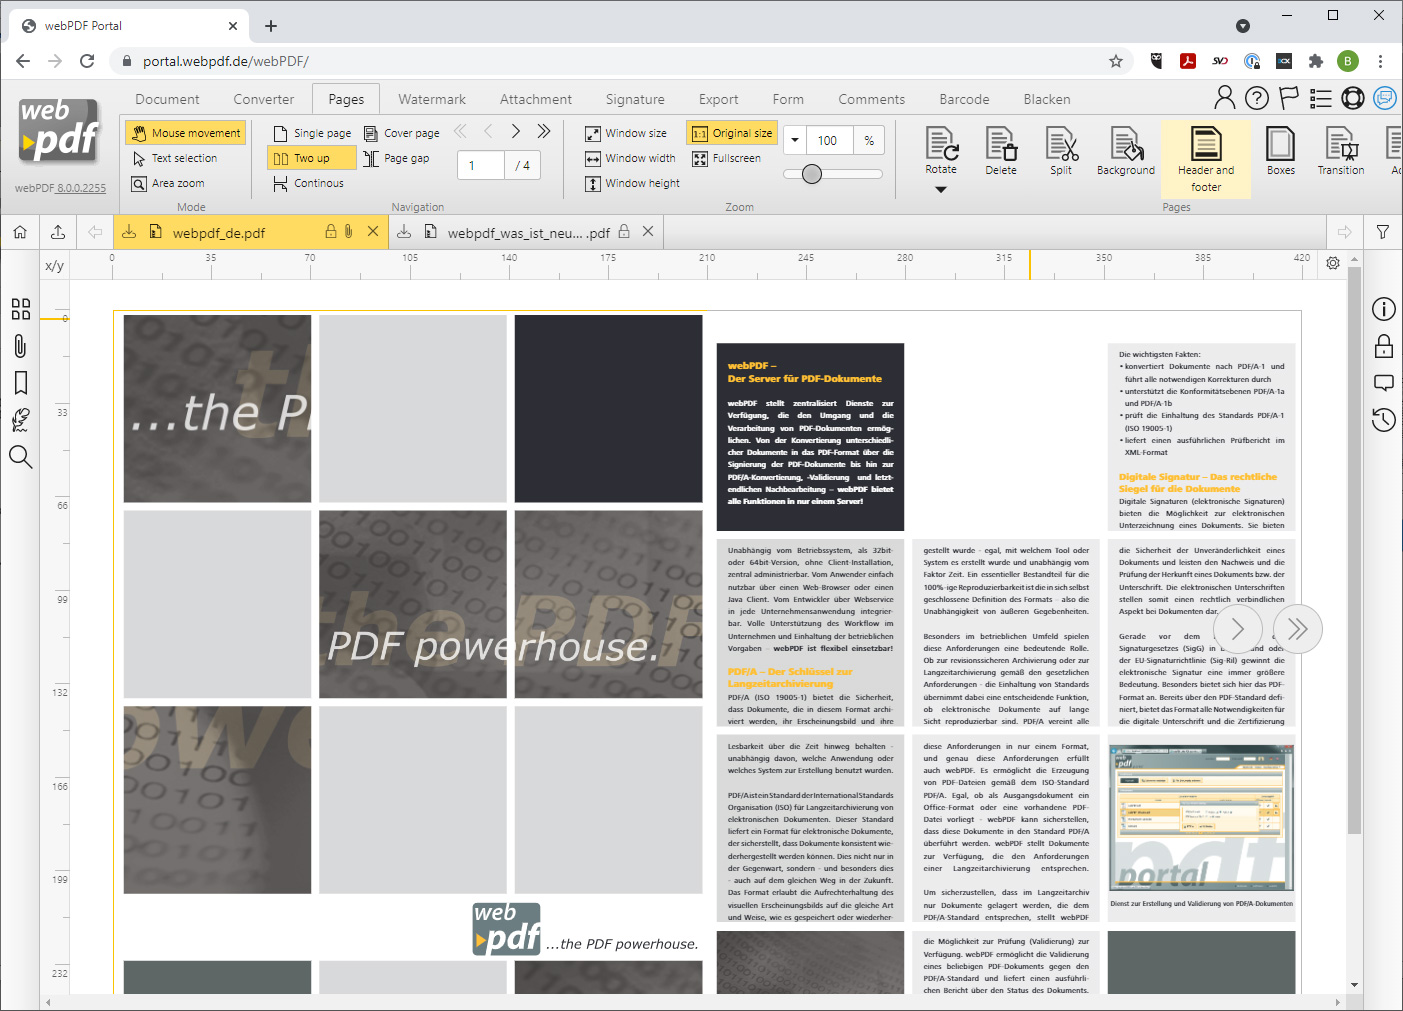
Conveniently organise pages in the webPDF web portal
In many companies there is a need to edit and archive existing PDF documents in addition to just creating them. Especially after the scanning process, it can happen that certain or several pages have to be repositioned or rotated.
For PDF documents (foreign formats would first have to be converted to PDF in order to use the functions), the webPDF portal provides the Rotate function for this purpose. In addition to this editing step, it is also possible to remove pages or change the order of the pages. You can customise the appearance of the documents according to your wishes. Via the web portal, this is also easy for users who do not work with PDF documents on a daily basis. The functions are very intuitive and self-explanatory. The three functions rotate, delete or move pages can be used conveniently via drag & drop.
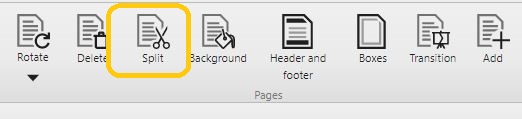
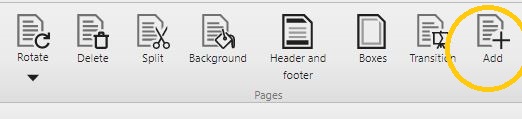
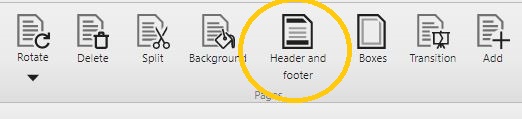
Call up the PDF functions via the “Pages” tab:

Call up the PDF functions Rotate and Delete:
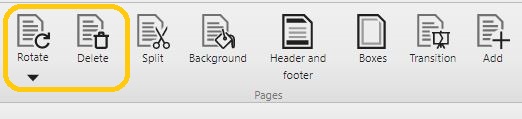
With the PDF function Rotate/Pages you can rotate one or more pages clockwise or counterclockwise or by 180 degrees.
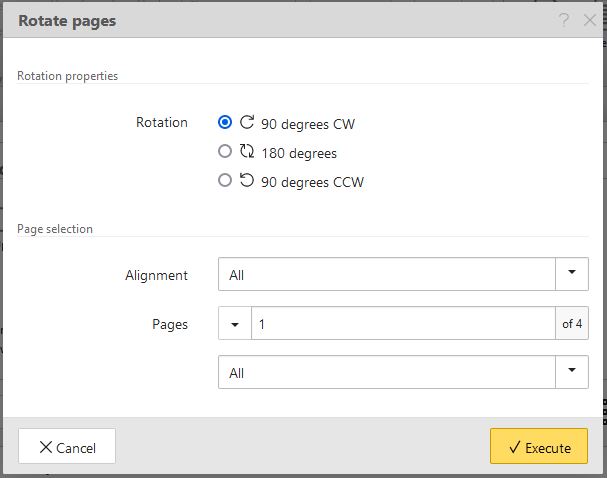
You can also edit only pages in portrait or landscape format or only even/odd pages when selecting pages, if desired. In addition to rotating and deleting, you can also split the pages of your document:
This means you select a section from your PDF document and create a new document from it (the original document is replaced by the newly composed one). Use the “Split” dialogue to select the page range and then recombine it. Choose between the three options:
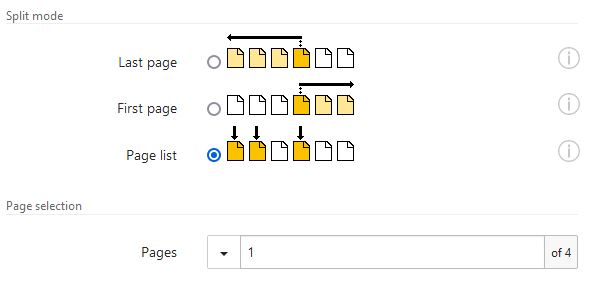
- Last page: All of the pages up to and including the selected page in the “To page” input field are included in the new PDF. All following pages are removed.
- First page: All of the pages from and including the selected page in the “From page” input field are included in the new PDF. All previous pages are removed.
- Pagelist: All the selected pages will be added to the new PDF.
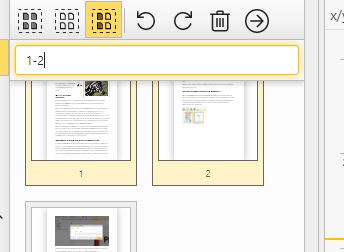
A new PDF document is then created from this “list” you have defined. You can also adjust the order of the pages as you wish beforehand.
In addition to the functions rotate, delete and split, it is also possible to adjust the background. You can also select a colour background here and customise your page background.
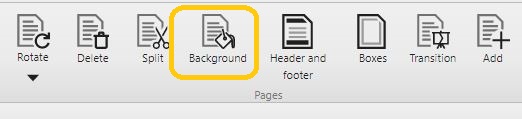
Instead of a colour background, you can also select a background image. In addition, it is possible to select the pages on which the background should appear. The exact position of the background can also be specified. Detail settings such as rotation, opacity and colour are possible for both the colour background and the background image.
An image/graphic of your choice can be inserted as the background image.
Add
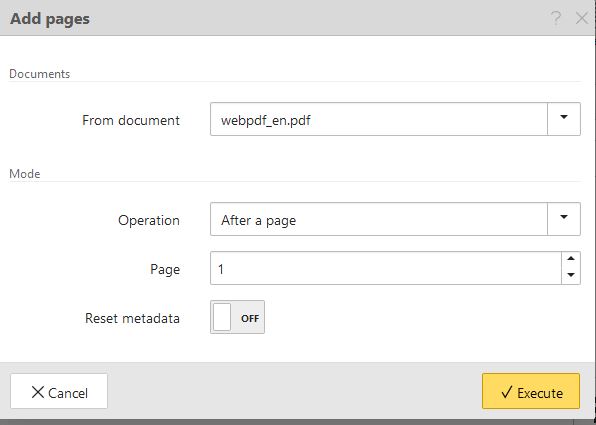
You can add pages to your PDF documents at any time by joining uploaded documents together.
To do this, simply upload two independent PDF documents to the portal and select both documents. In the selection dialogue you can choose where document A is to be added to document B. For example, at the beginning or end of a document. For example, at the beginning or end of the document or after or before a certain page of the document. It is also possible to replace a specified page in the original document with the selected documents.
By clicking on Execute, the document to be edited is then replaced with the newly created document.
An image/graphic of your choice can be inserted as a background image:
After clicking on “Execute“, the currently edited PDF is replaced by the modified PDF in the file list. This document can be edited with further operations.
For more info on merge and split, click here:
https://www.webpdf.de/en/pdf-merge-and-split-documents
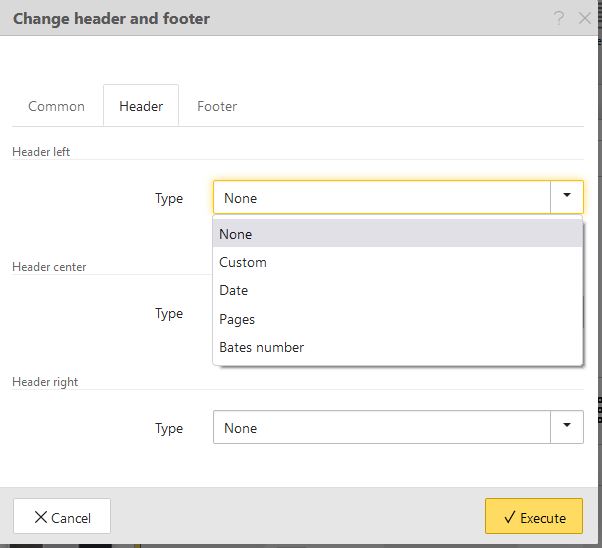
Inserting a header and footer
In addition to an individual background, you can also insert a header and footer. Here, too, you can adjust the appearance according to your wishes. In addition, you can use the page selection to determine on which pages the headers and footers should appear.
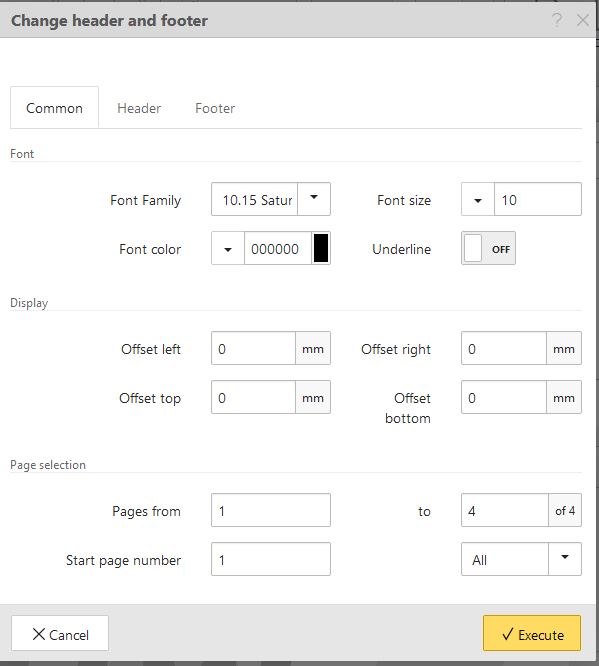
Several options are available. If you decide to set a header or footer, you can either define your own text (User-defined) or set the date (Date) or display the page number (First page number) and create a pagination stamp.
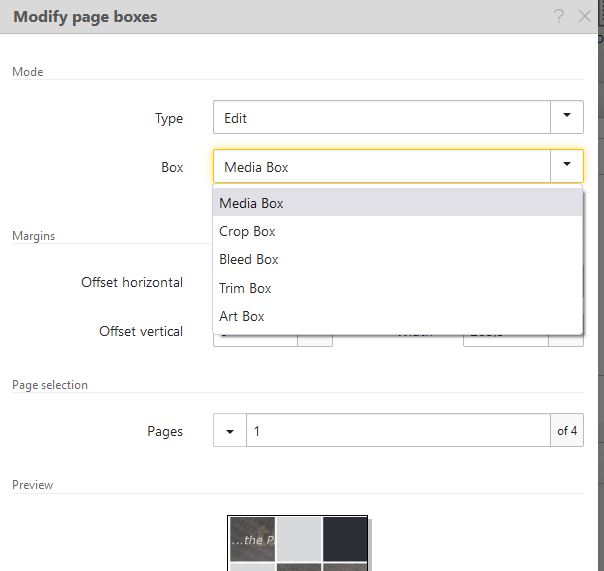
Boxes

You can also add a page frame to your PDF documents. The Change page frame dialogue allows you to make various adjustments. You can choose between media frames, mask frames, bleed frames, end format frames and object frames.
- Media box = The page’s physical dimensions.
- Crop box = The visible (printable) page area.
- Bleed box = Untrimmed content position on the page (content dimensions plus trim box).
- Trim box = Trimmed content position on the page (final content dimensions).
- Art box = Position for special page content (images).
For further information, please refer to the user manual:
https://portal.webpdf.de/webPDF/help/doc/en/application_portal_services_pages_boxes.htm
Page transitions
If you want to define how exactly the transitions between individual pages should look in full screen mode, you can choose between different transitions and effects via the Edit page transitions dialogue.
The individual transitions can be added or removed if transitions have already been set.
More infos here: https://www.webpdf.de/en/rotate-remove-move-pdf-pages